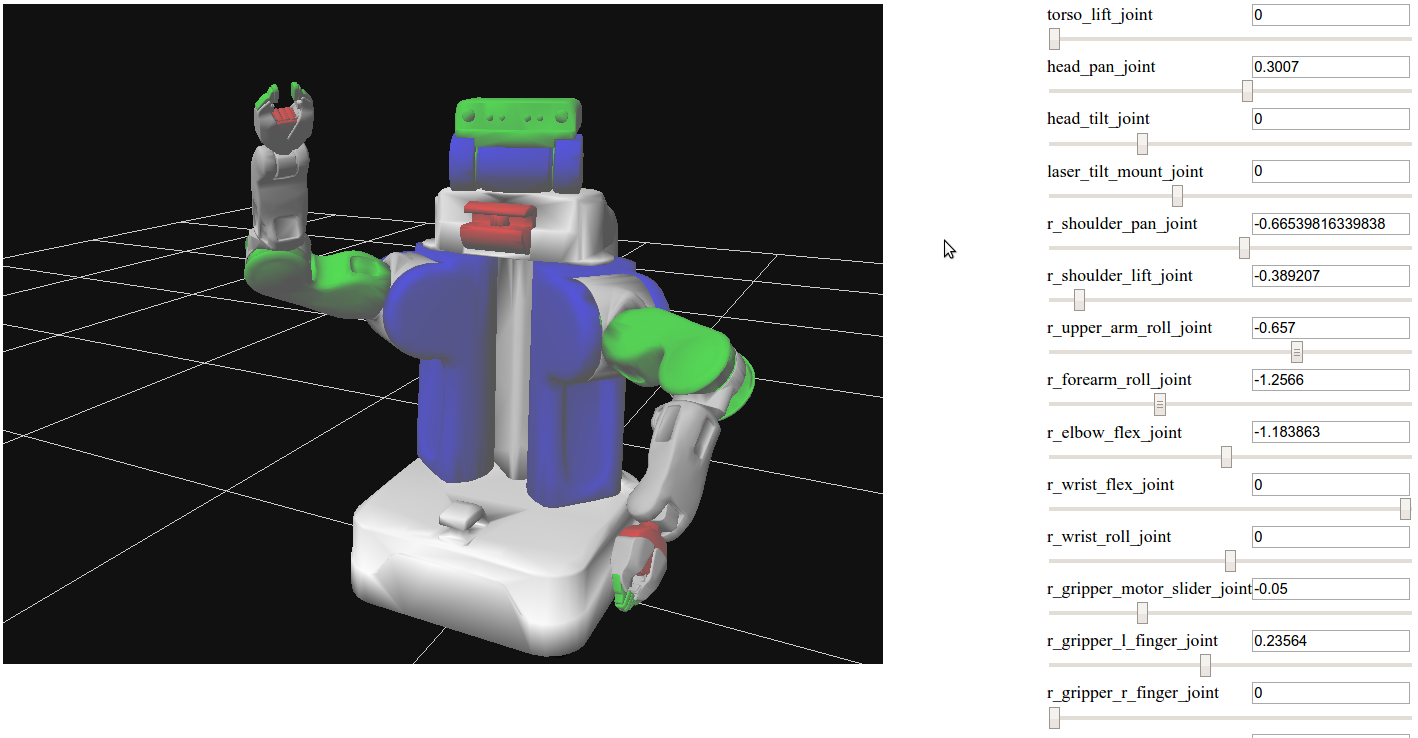
| |
Using JointStatePublisher in the Browser
Description: Replicate the functionality of joint_state_publisher in the browser.Keywords: ros3djs, web interface, javascript, JointState, Robot Web Tools
Tutorial Level: INTERMEDIATE

Basics
This tutorial assumes you have already completed the Visualizing a URDF tutorial, in which you were able to visualize a robot in the browser by using robot_state_publisher and joint_state_publisher on the server side.
In this tutorial, we will move the GUI component of joint_state_publisher to the browser as well.
Editing your HTML
Assuming you already have an HTML file that can visualize your URDF, adding the joint state publisher is easy.
First, you need to include the proper headers, which means adding
1 <script src="http://cdn.robotwebtools.org/jointstatepublisherjs/current/jointstatepublisher.min.js"></script>
Second, you need to create the element where the sliders will appear. I like the sliders to appear to the right of the urdf visualization, so this is the HTML I use.
Then in your init function, you need to create the actual JSP object. Be sure to use the matching divID for the HTML you created in the last step.
Launching the Demo
Finally, to get this to run, you need to run a launch script on the server side. There are two approaches.
Approach 1
Upload your launch file to the parameter server, and then launch roslaunch joint_state_publisher_js core.launch which will then start up the rosbridge_server, tf2_web_republisher, the robot_state_publisher, and a server-side joint_state_publisher.
Approach 2
You can also just launch roslaunch joint_state_publisher_js run_with_xacro.launch model:=/path/to/xacro/or/urdf which does all of the above, but loads the urdf/xacro into the parameter server for you.


